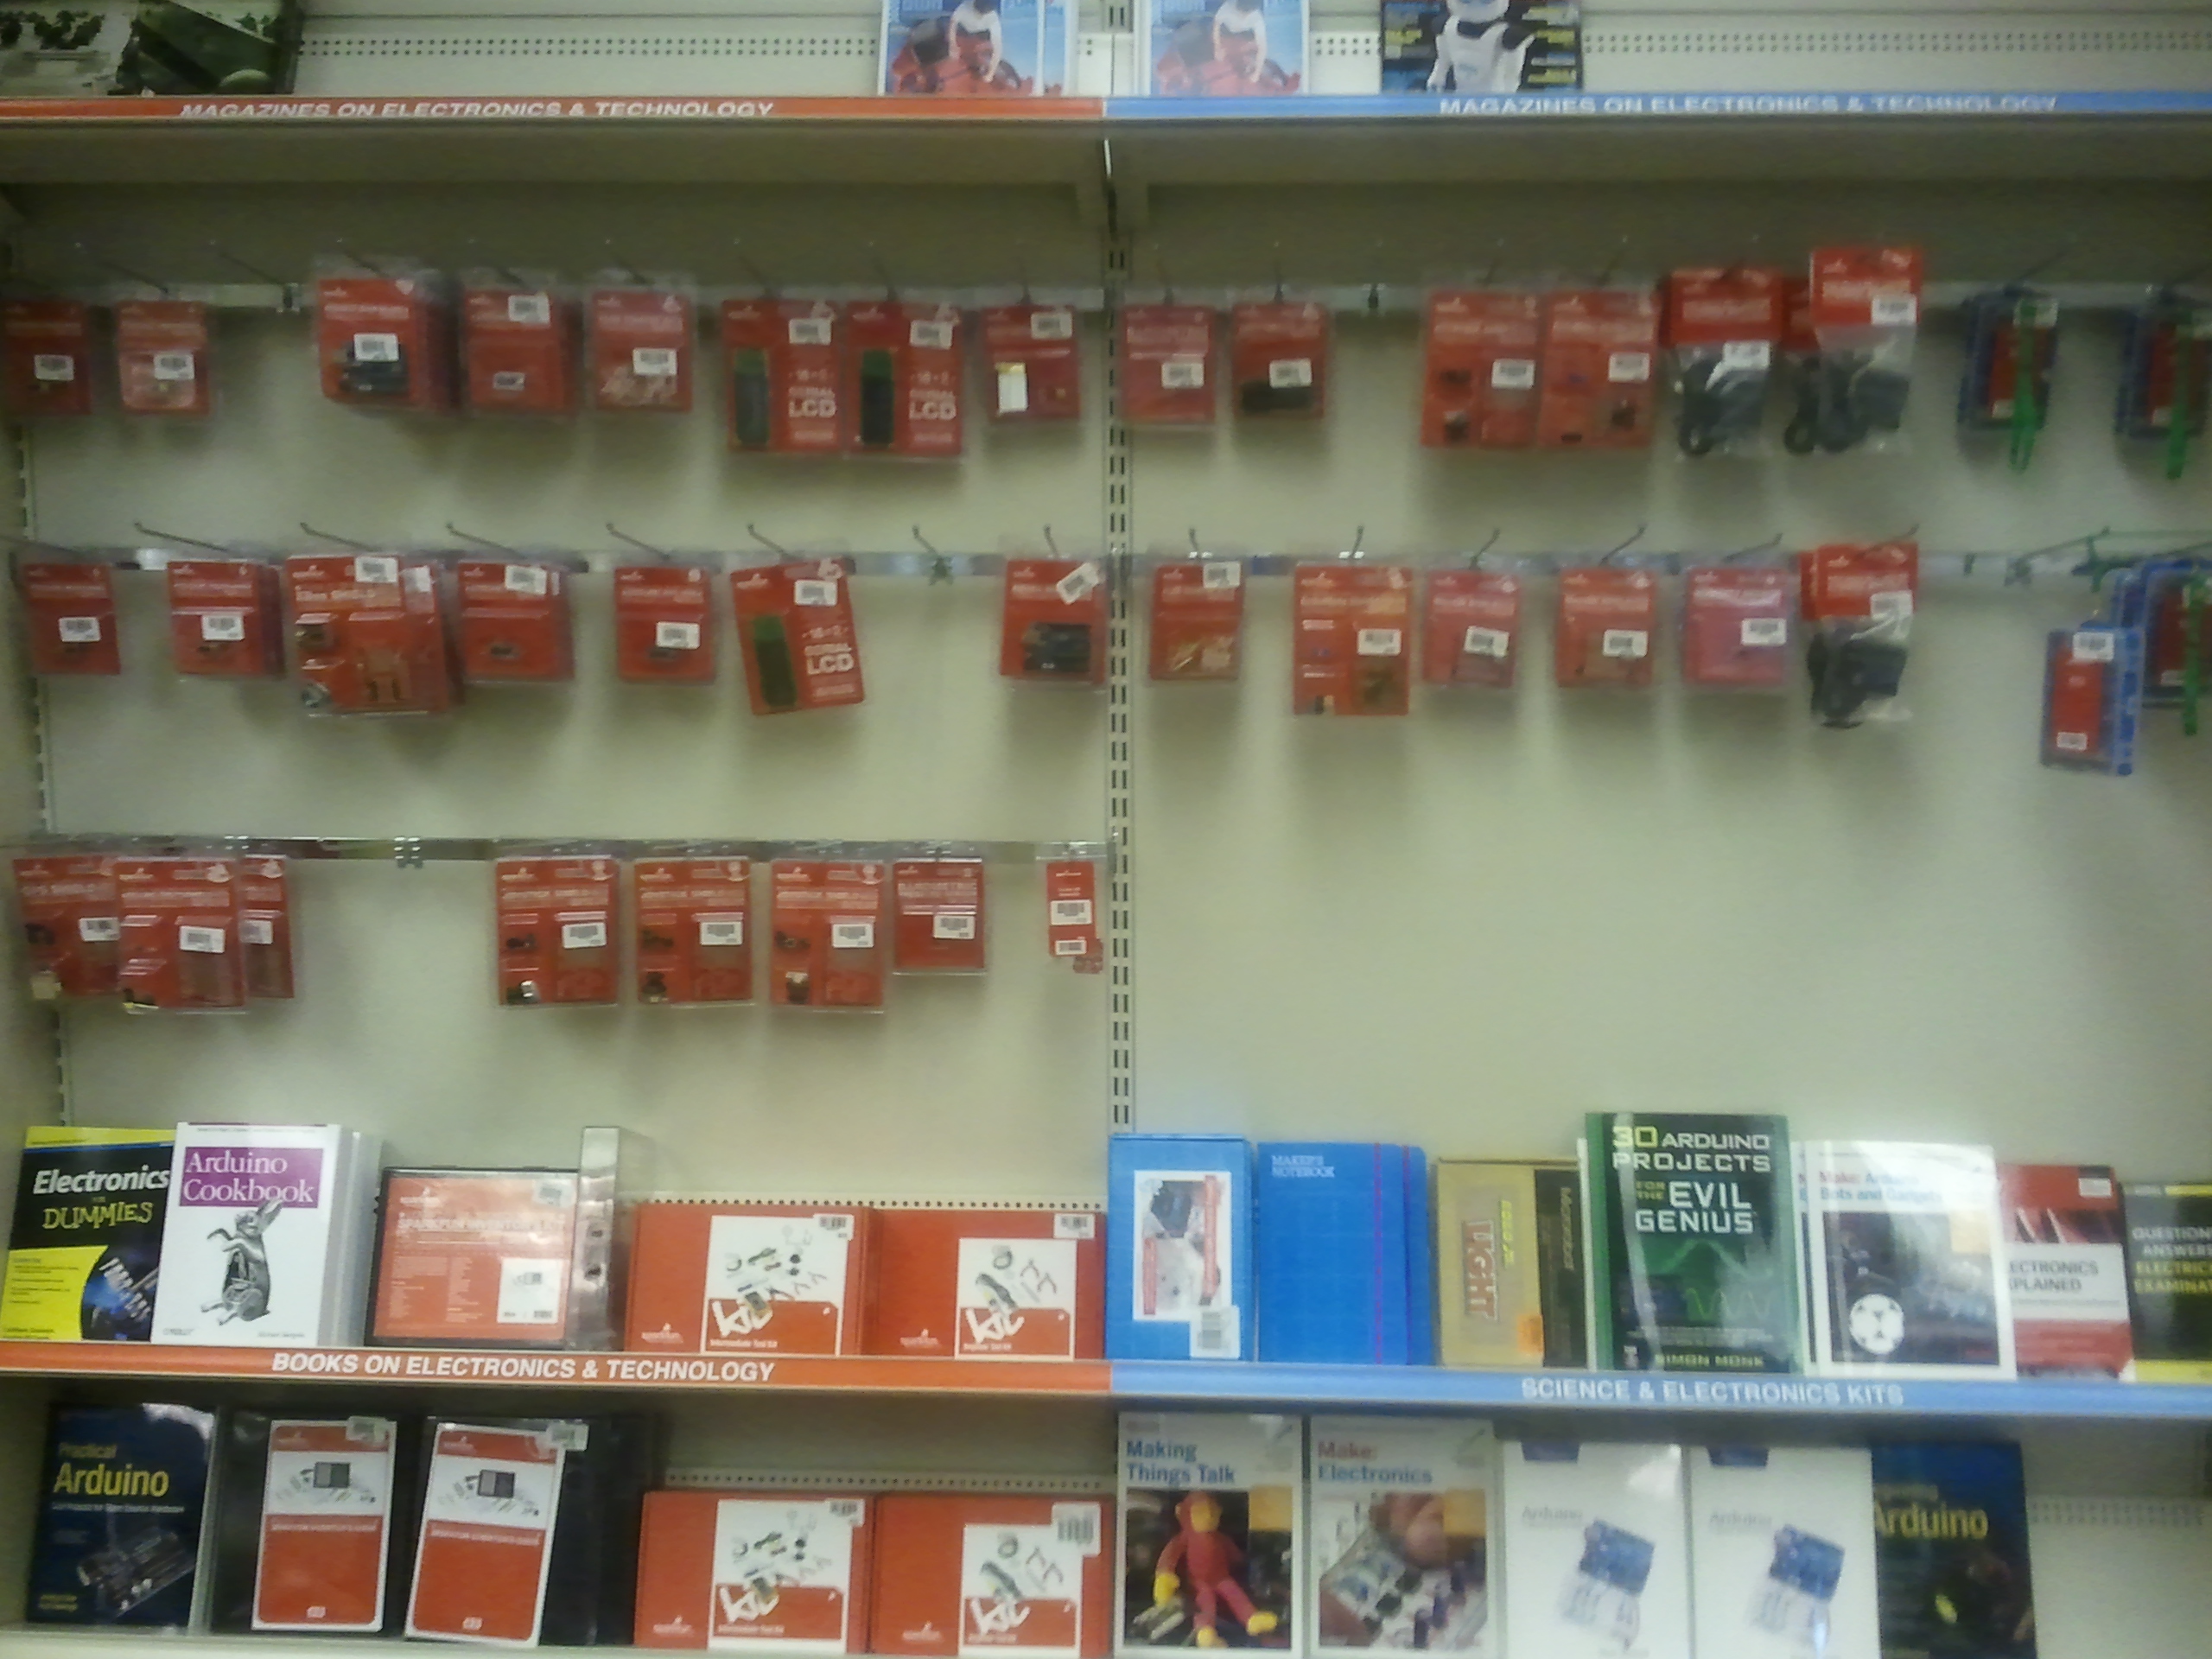
I stopped by Micro Center today, and was pleasantly surprised to see that they stock some SparkFun kits and components. Their SparkFun inventory is very Arduino-centric; they carry inventor kits, Arduino Uno boards, and Arduino Pro Mini boards (some assembly required.)
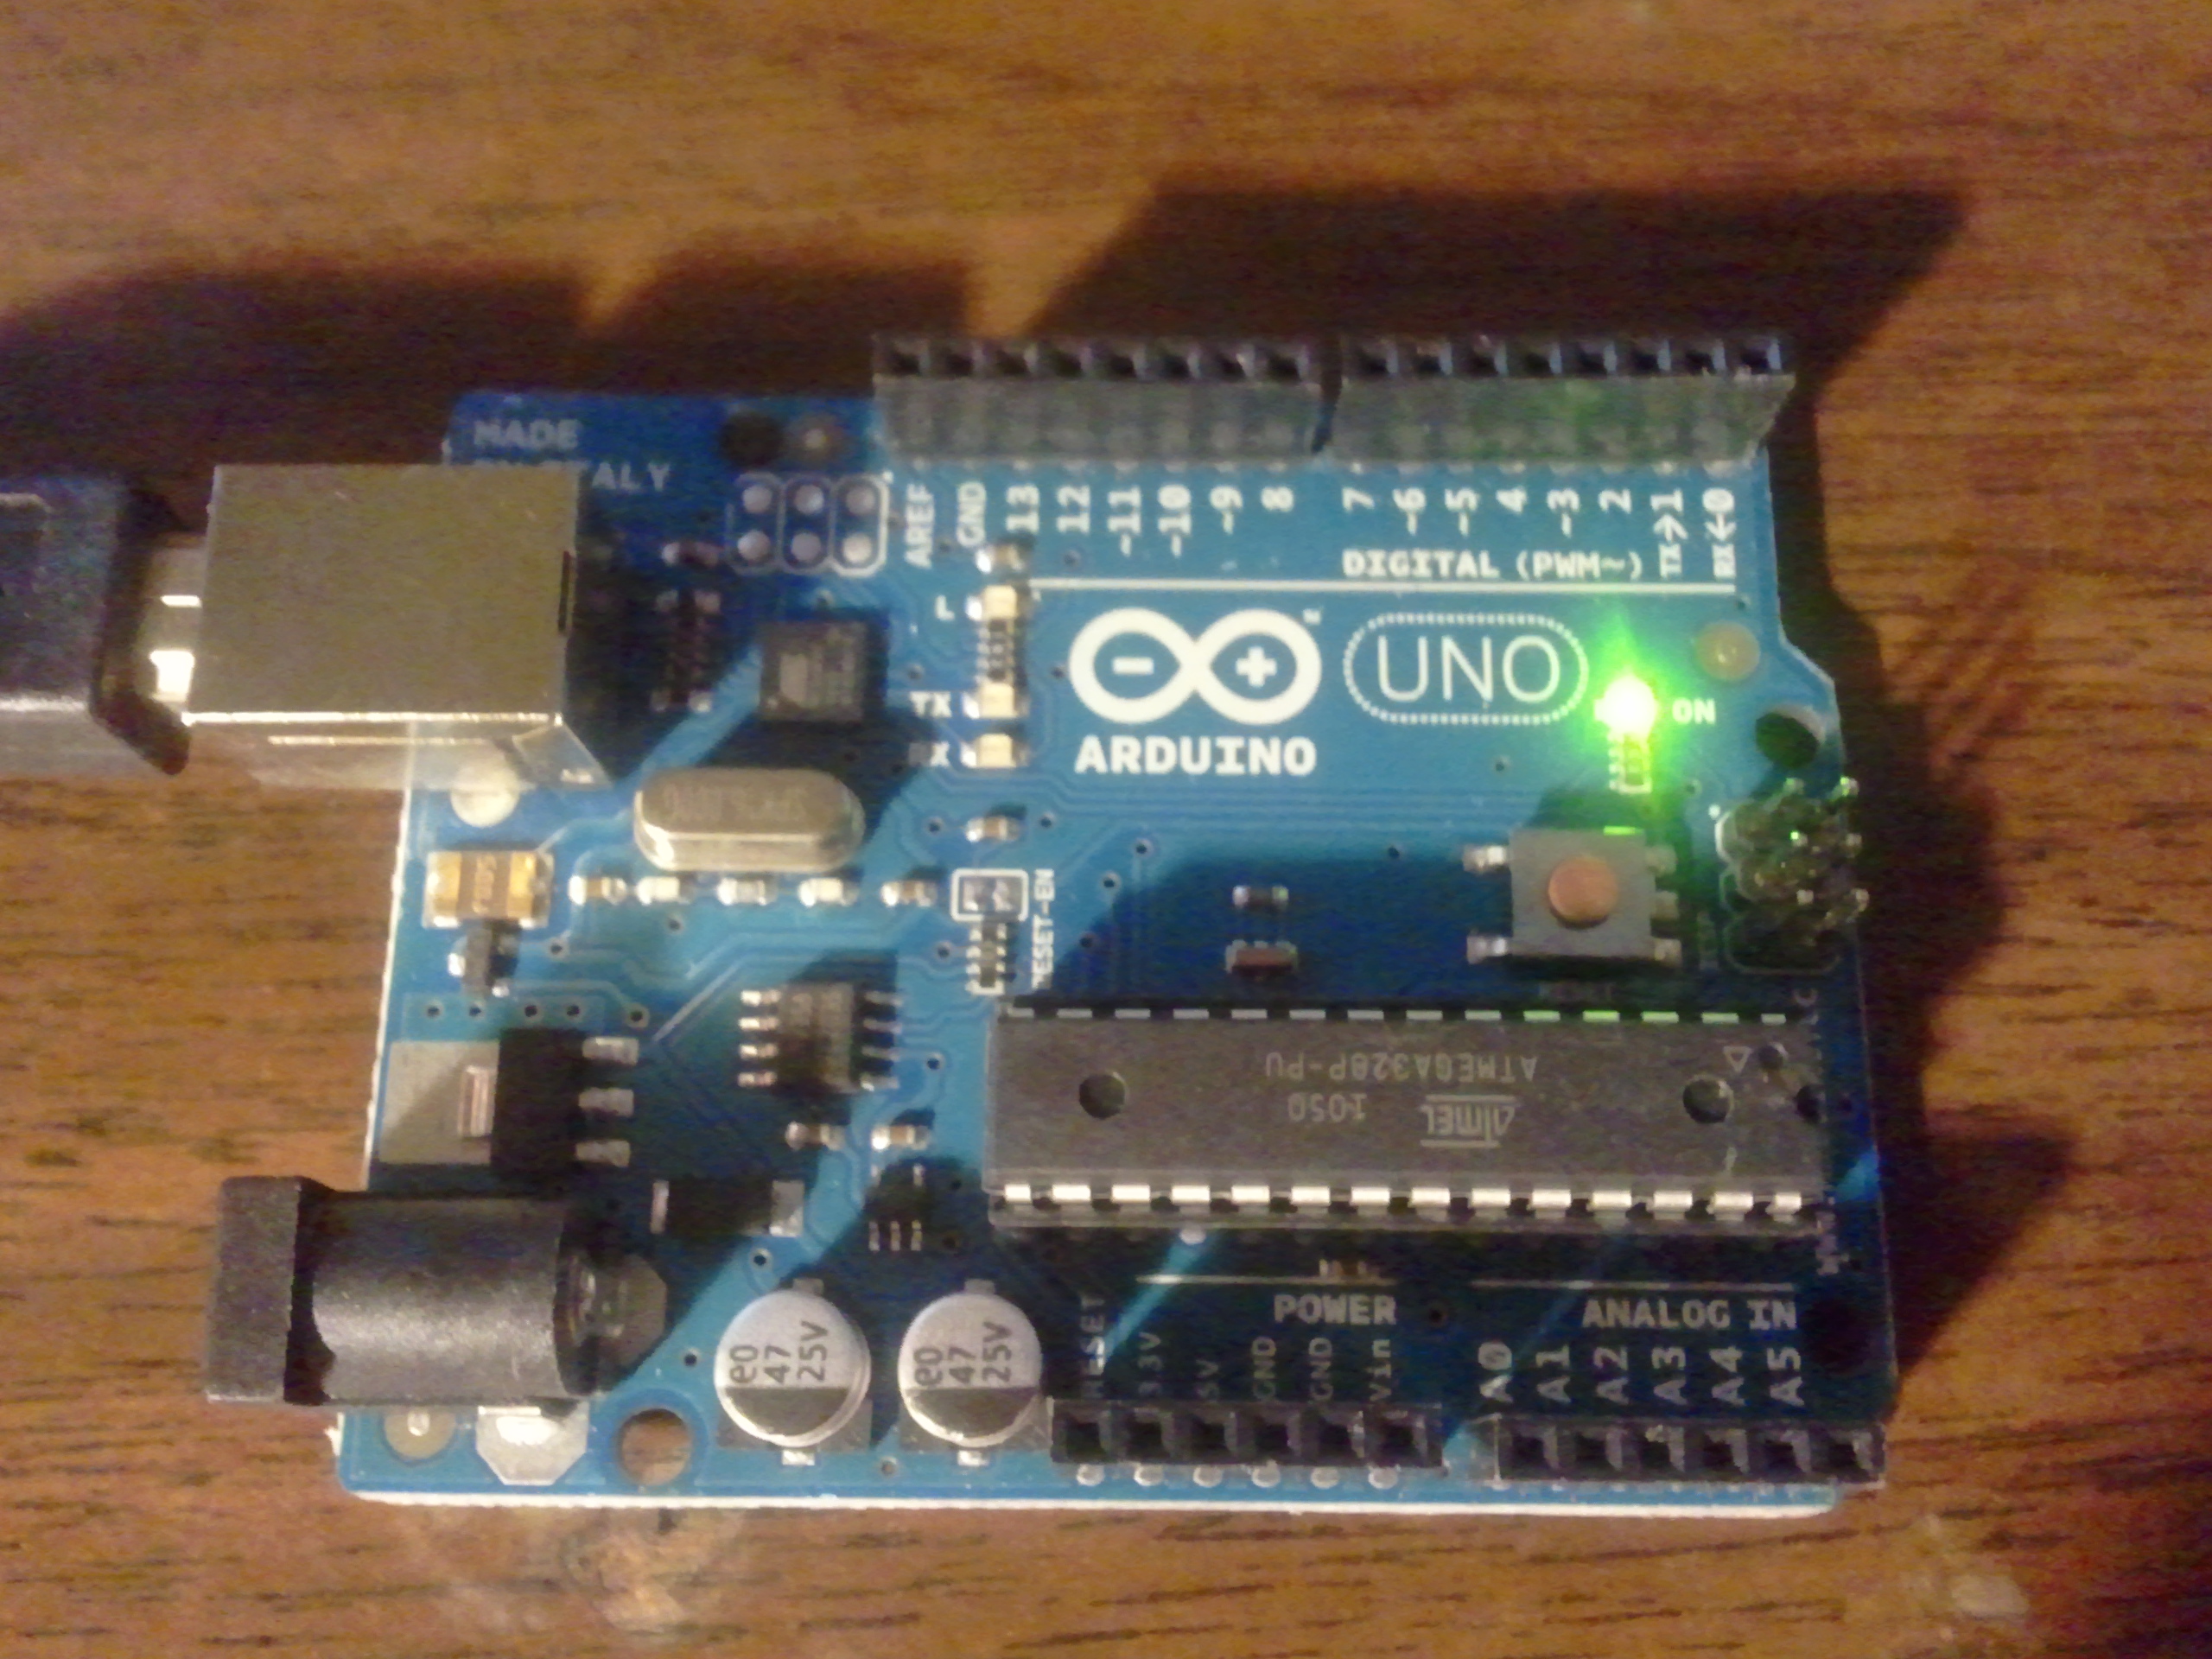
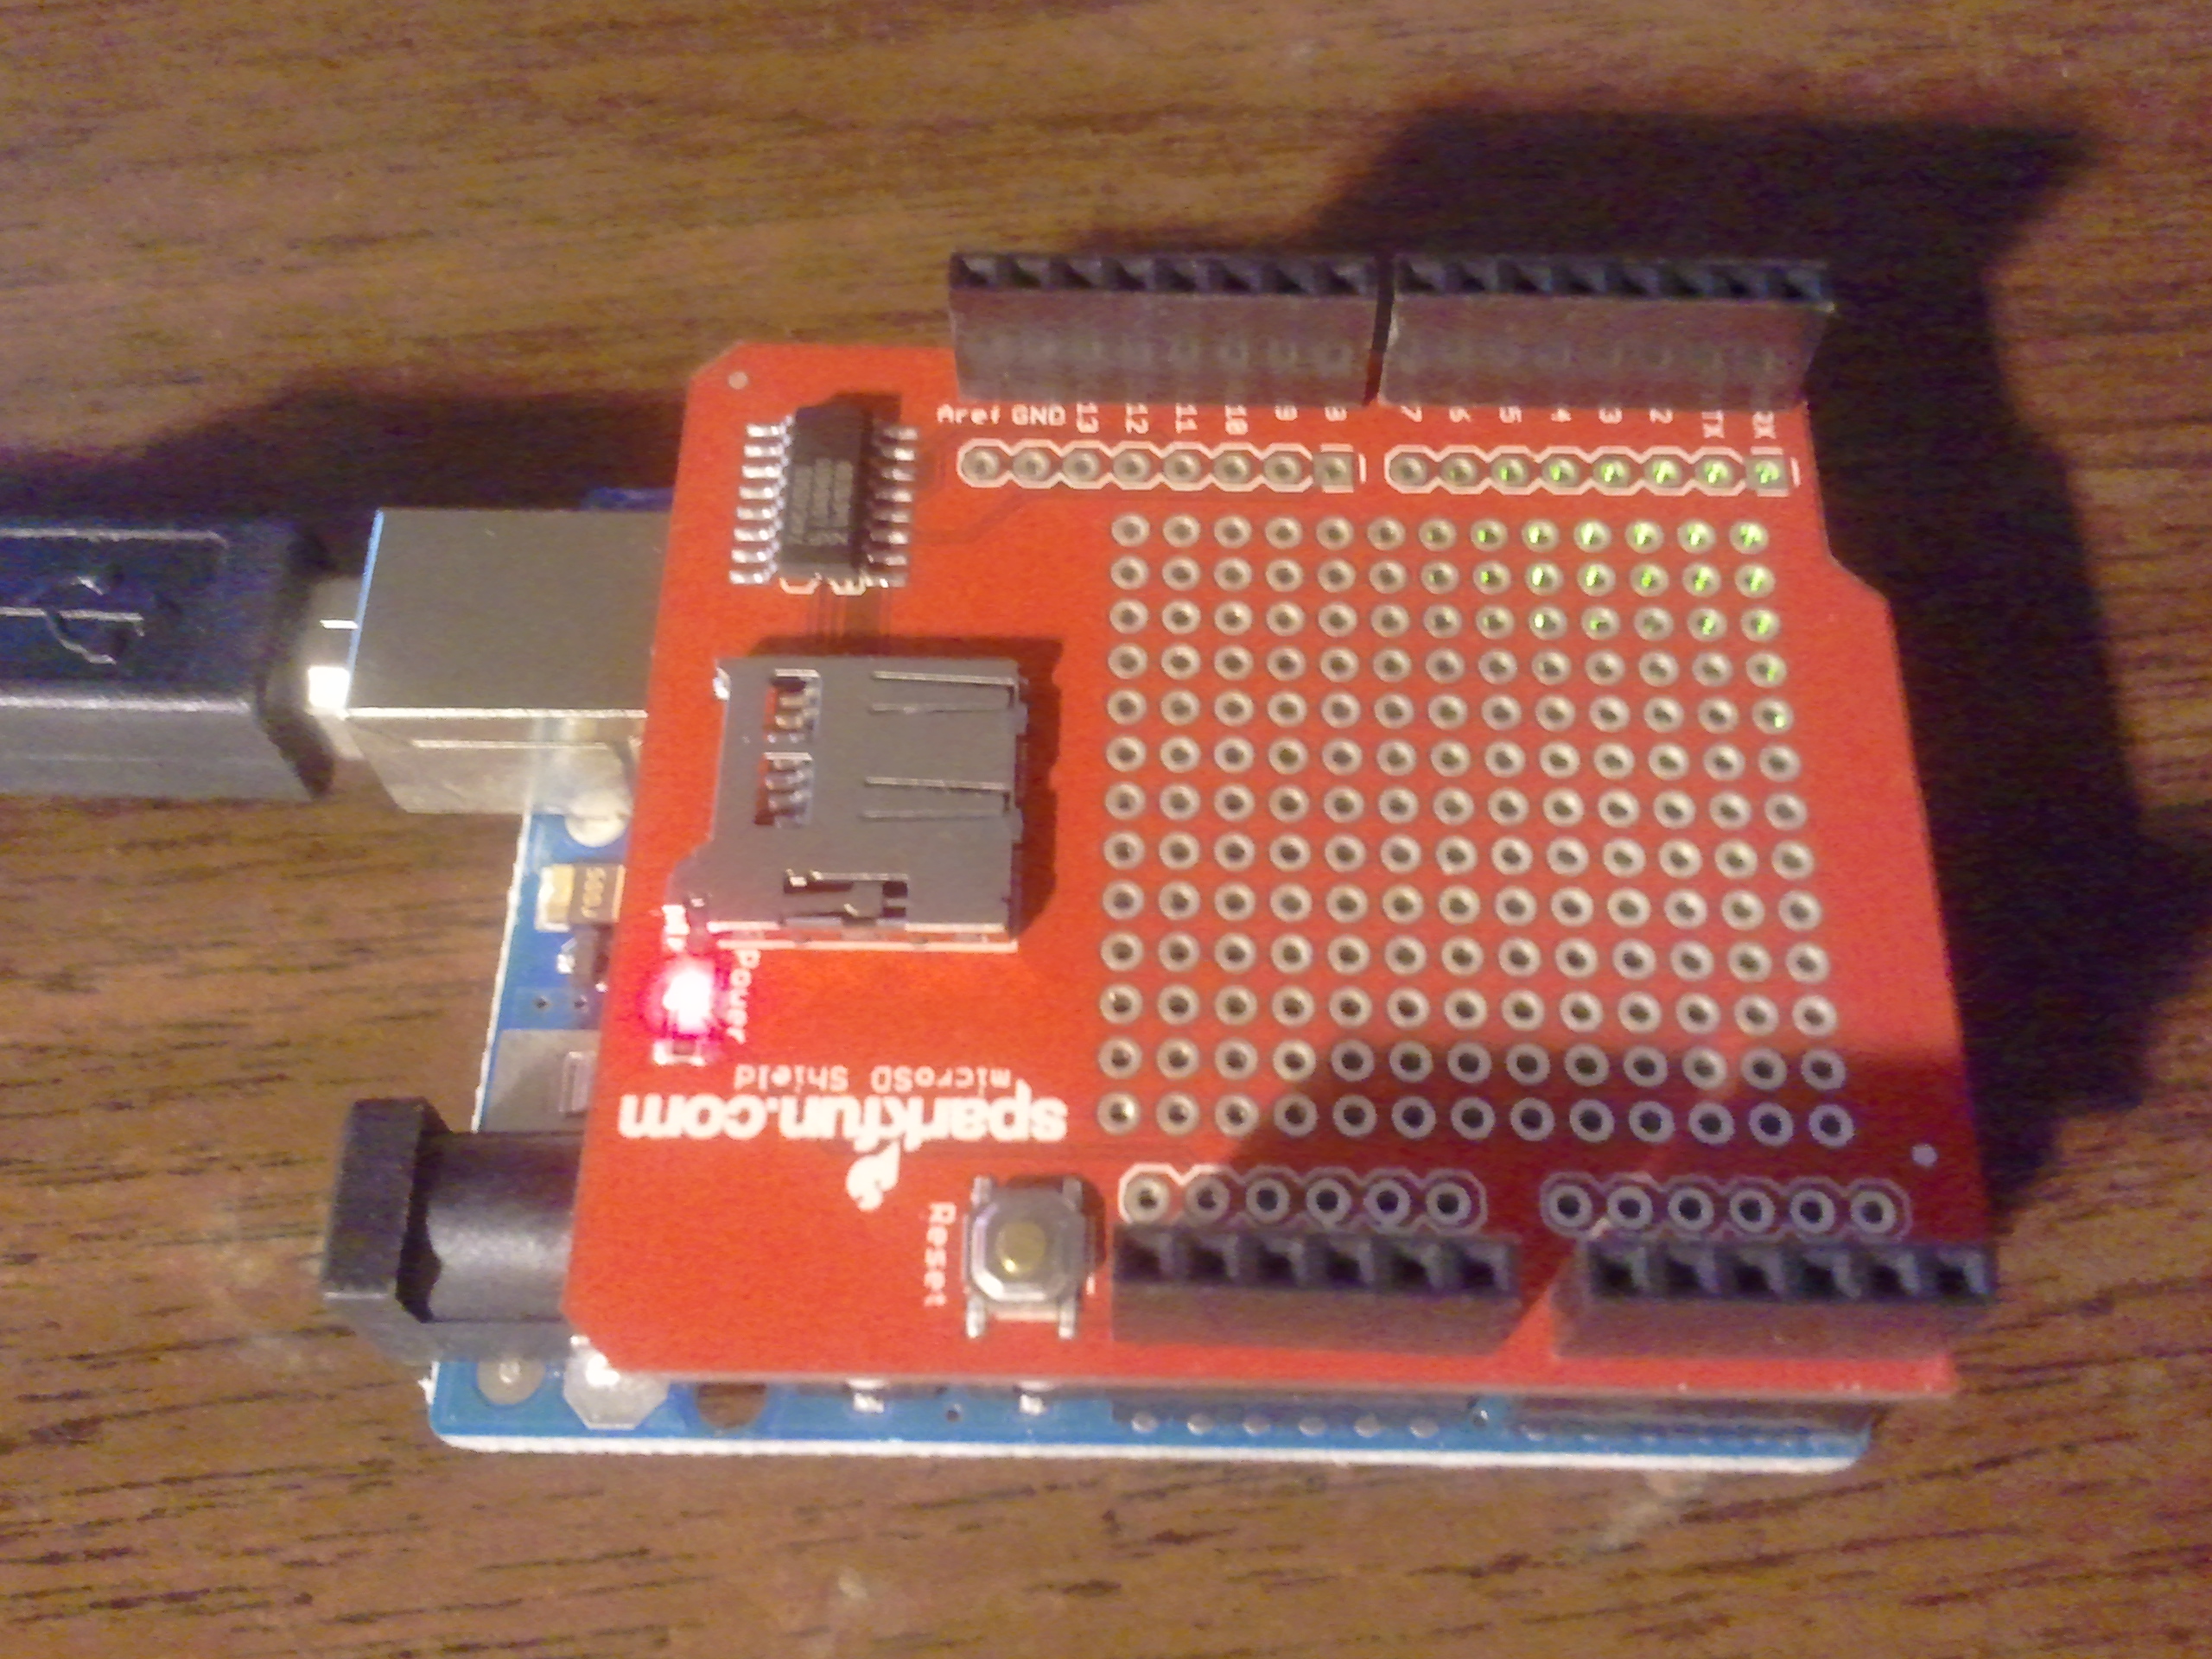
I picked up an Arduino Uno (it looked like the typical Arduino board I’ve seen online), as well as an SD card “shield” accessory for it. I wanted to see what the difference was between developing for Arduino vs. developing for a stock microcontroller.
It’s insanely easy! To give an idea of just how easy take the typical blink-a-single-LED-on-and-off-once-per-second test program (the embedded designer’s equivalent of “Hello, World.”) Here’s what’s involved (for those using Windows 7):
- Buy an Arduino Uno board (or make one, if you want — the plans are open source!)
- Find a USB A-to-B cable, since the board doesn’t come with one.
- Download the Arduino software (Free, as in speech) here, and unpack it somewhere. (No need to install; it’s portable software!)
- Connect the board to your PC (it gets its power through the USB cable.) The driver installation process will fail — wait for it to finish.
- Install the driver manually (it’s in the drivers subfolder wherever you unpacked the Arduino software.) Note which COM port number it chooses (or move it as desired).
- Run the Arduino software.
- Click File->Examples->Basic->Blink. This will load the “Blink” example.
- Click the “Upload” button to upload the “sketch” (program). The yellow LED on the board will start blinking. You’re up and running!
Opening, reading, and writing files stored on a MicroSD card is nearly as easy, if you have the MicroSD card “shield” (accessory board). This assembled in about ten minutes (a question of soldering on four rows of header pins), and plugged right in to the main Arduino Uno board, piggyback-style. After loading a provided SD card example, the board was able to read and write a “test.txt” file. Modifying this to write a list of Fibonacci numbers to a file called fibonacc.txt (apparently filenames have to conform to the old 8×3 format) was very straightforward, too. Suddenly, megabytes or gigabytes of storage are available for embedded projects!
So, in conclusion, working with Arduino boards is pretty cool! About the only drawback I’ve found so far is an increased appetite. For whatever reason, I tend to associate the Italian language with good food: tortellini; calzone; pizza; formaggio parmigiana, mozzarella è provolone etc. Linguistically, for me, it’s a short hop from “Arduino duemilanove” (“Arduino 2009”) to imagining all kinds of culinary delights. The Italians certainly know how to cook. Apparently, they’re also pretty good at designing dev board systems!


