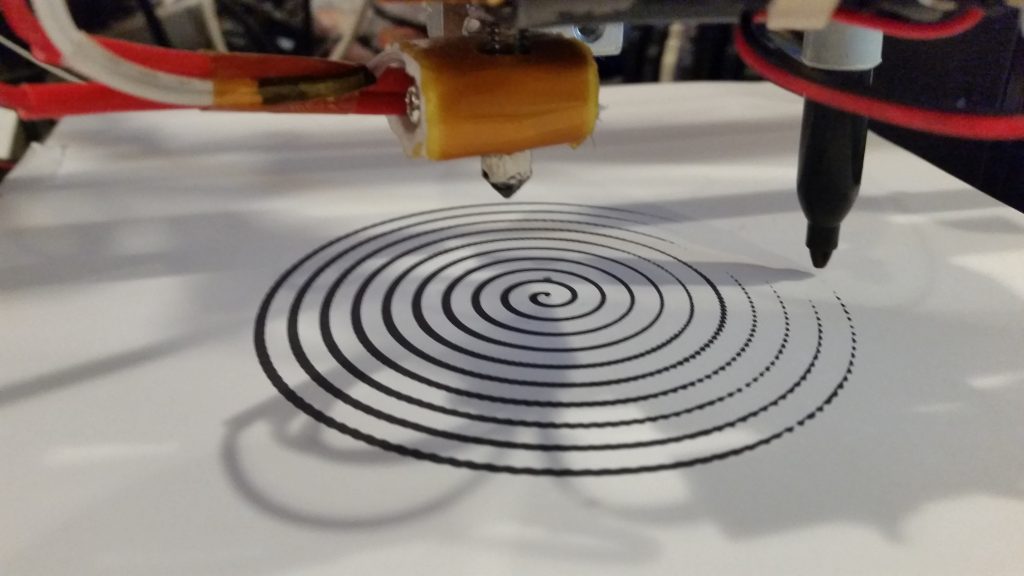
A 3D printer is, ultimately, a gantry system. It normally uses this setup to position a plastic extruder to make parts — but it can be used for many other tasks, as well.
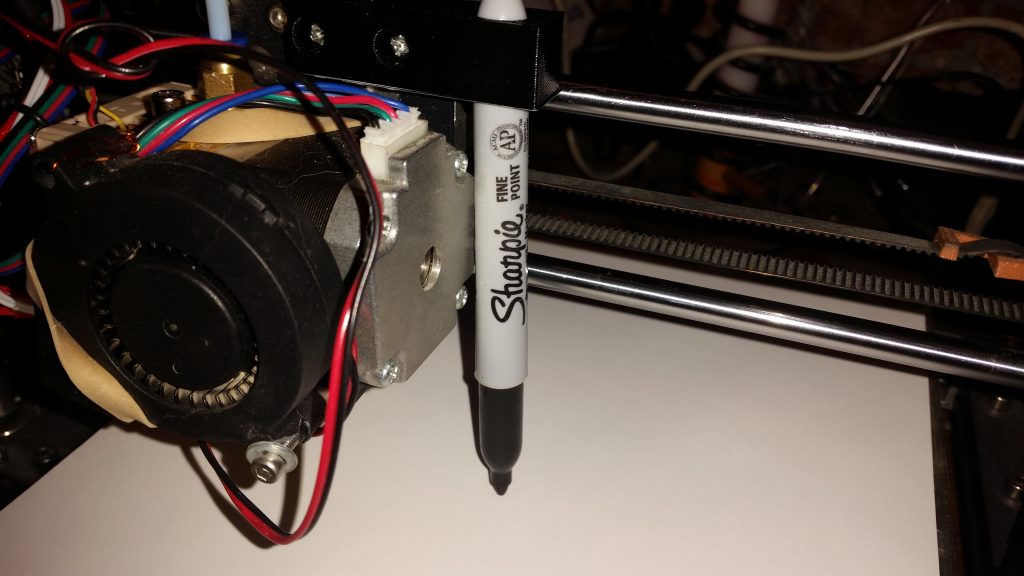
As a preliminary test of this functionality, I printed a bracket to hold a Sharpie, to try drawing with the printer in 2D. With the right G-code commands, the printer can be turned into a plotter. (It should even be fairly straightforward to arrange a pen-swap mechanism; HP had this on their plotters decades ago.)
Before testing with the pen in place, I wrote a custom .gcode file to check the printer’s behavior. If a new file was sent to the printer, would it home itself before printing (which would not work well with the pen mount)? The file consisted of a single command: G0 X100 Y100 F1200. This is a command to move the gantry to (100,100,Z) where Z is the current, unchanged, Z position.
It worked — meaning it didn’t reset the Z position which would crash the pen into the bed — so the next step was to create a more complex 2D G-code file to draw an Archimedes spiral.

An Archimedes spiral, given by R (in mm) = 5*theta/(2*pi). (Click for larger.)
Make sure your pen stays below the nozzle!
Here is a link to the bracket on Thingiverse, if you want to try this yourself.
The relevant G-code command is G0 (with a zero, not o). Here’s the syntax:
G0 Rapid linear move X### Y### Z### E### F### (mm/min)
So, a G-code file to draw a square might look like:
G0 X100 Y100 Z23 F1200 ;Start at (100,100,23) just above the paper
G0 X100 Y100 Z21.5 ;Pen down — your height will vary.
G0 X100 Y150 F1200
G0 X150 Y150 F1200
G0 X150 Y100 F1200
G0 X100 Y100 F1200
Happy plotting!


