
For almost thirty years, I’ve preferred trackballs to traditional mice. Flipping the mouse geometry upside-down means that you can give the trackball a spin to move the cursor quickly, without having to bother with picking up the mouse and moving it back onto the mousepad over and over. Also, more importantly, trackballs don’t need to move around like a traditional mouse does, and so take up a lot less desktop real estate. It’s like having a mouse with an infinitely large mousepad and an infinitely long arm. I honestly don’t know why traditional mice are still a thing.
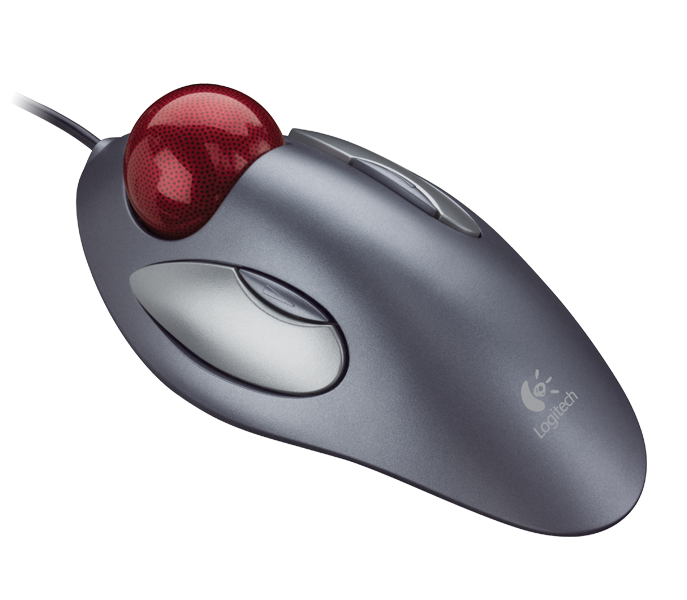
Image shamelessly snagged from Logitech’s site. (Go buy one. They’re good.)
The one drawback to trackballs, however, is that they generally don’t come with scroll wheel functionality of any kind. And while the scroll wheel is still not up there with the left and right mouse buttons in terms of importance on a PC, there are still far too many apps that require it, and a lot more than can make good use of it. The map in Skyrim, for example, can be zoomed to some extent — but only with a scroll wheel. Zooming the view in and out in X-Plane, while possible using the keyboard, is much faster and more intuitive using a wheel input. Also, all of the many knob-based inputs in a typical simulator cockpit can be used with a scroll wheel if the mouse cursor is on them. This is a lot more realistic than trying to click on the correct edge of the image of a multi-function knob on your screen.
Scroll wheel functionality would be useful — but the hassle of moving back to a traditional mouse just isn’t worth it. (I brought in my own Logitech Marble Mouse to work so I wouldn’t have to use a traditional mouse.)
Boards like the Arduino Leonardo now make this a very easy problem to solve! The Leonardo can implement a “HID” (Human Interface Device) via USB, and can appear as a USB keyboard and/or USB mouse to a host computer. Since it’s pretty straightforward to get an Arduino to read a quadrature encoder (see code below), a few lines of code are all that’s needed to get it emulating a scroll wheel.
Here’s the encoder I used — any similar quadrature (relative position / “jog dial”) encoder should work.
Hookup is almost as simple as it gets: 5V to 5V, Ground to Ground, then pick GPIO pins to use for switch (the pushbutton), data, and clock. (Really, phase A and phase B.) I used pins 2, 7, and 8 (more or less arbitrarily), but as long as your pin choices match the ones you set in the code below, it should work.
Here’s the code (designed for an Arduino Leonardo).
//Simple scroll wheel implementation for Arduino Leonardo and similar
//Uses quadrature encoder and USB HID library
//CC-BY-NC 2020, M. Eric Carr / eric at paleotechnologist dot net

#include<Mouse.h>

const int SWITCHPIN = 2; //Push switch function of encoder (for future use)
const int DATAPIN = 7;   //Phase A of encoder
const int CLOCKPIN = 8;  //Phase B of encoder

void setup() {
  pinMode(SWITCHPIN, INPUT); //For future use
  pinMode(DATAPIN, INPUT);
  pinMode(CLOCKPIN, INPUT);
  }

void loop() {
  //Quick-and-dirty quadrature tracking. Counts when A high and B changed;
  //this should produce one count per set of four quadratures.
  //TODO: Give this a little hysteresis by not incrementing and decrementing
  //the count at the same place in the cycle.

  //DO NOT PUT SIGNIFICANT DELAYS IN THIS LOOP; it relies on running fast enough
  //to not miss any transitions. 1ms delay may be too much. 10ms can cause problems.
  //There are four transitions per "click" of the dial; if you spin it quickly,
  //you could go through several dozen transitions in a fraction of a second, causing
  //the count to be in error if this loop is too slow.

  static int oldA=0,oldB=0;
  int a,b;

  a=digitalRead(DATAPIN);
  b=digitalRead(CLOCKPIN);

  if(oldA!=a || oldB!=b){

    if(a==HIGH){
      if(b==LOW && oldB==HIGH){Mouse.move(0,0,1);}  //Scroll up
      if(b==HIGH && oldB==LOW){Mouse.move(0,0,-1);} //Scroll down
      }

    oldA=a;
    oldB=b;

    }//if

  }//loop()
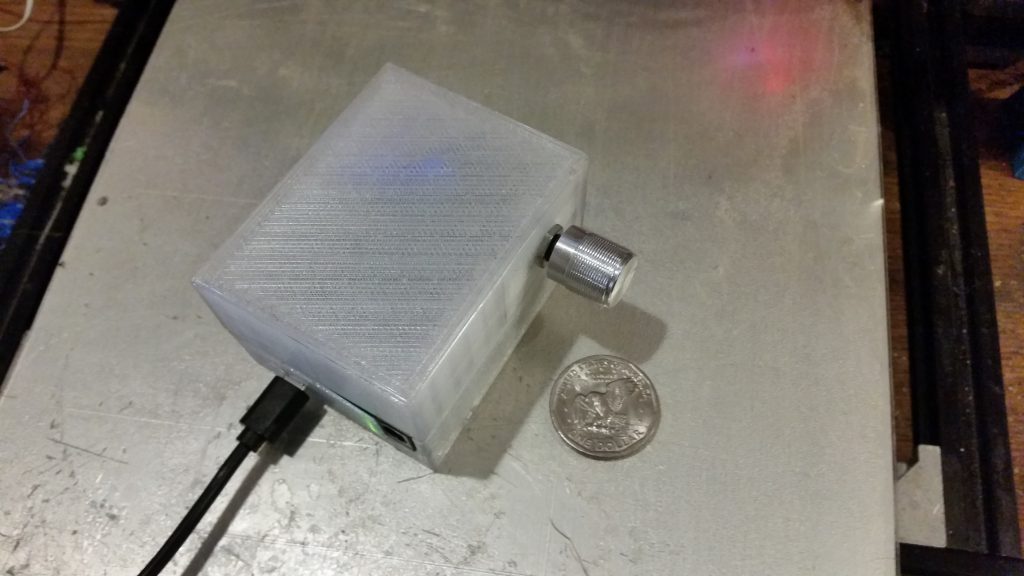
Once everything was wired and tested, I modified a Leonardo case I found on Thingiverse to expand the lid, allowing space for the encoder. It’s even somewhat ergonomic, considering it’s a prototype…
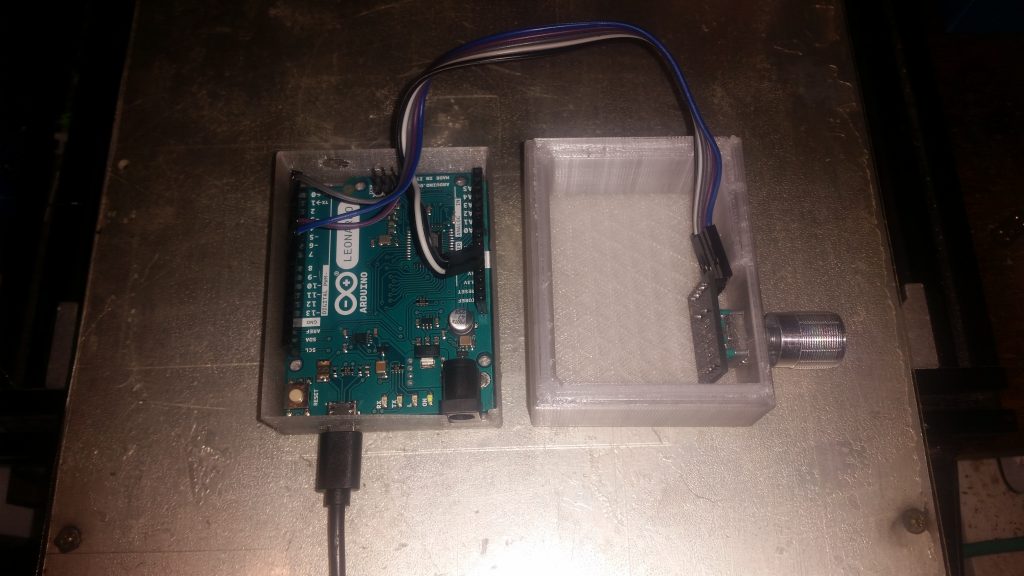
but with a microUSB cable instead of Type B.
Happy scrolling!
