
60s tech may not always have been as sophisticated as today’s gear, but it was generally reliable and easy to understand. Automation, if implemented at all, was generally mechanical or electro-mechanical. While this was understandable with digital technology having barely gotten started, it meant that modifying or upgrading these systems required specialist equipment, usually only available to the device manufacturers.
My mom’s old Sears sewing machine is a good example of this. Bought by her parents in 1967 as a (very practical and rather expensive) wedding gift, it still works well today and with occasional oiling will probably still work well in a hundred years’ time. It is a purely electromechanical device — and the “electro-” part is confined to a variable-speed electric motor and a light bulb on a switch. A competent appliance tech from the 1920s would have understood it.
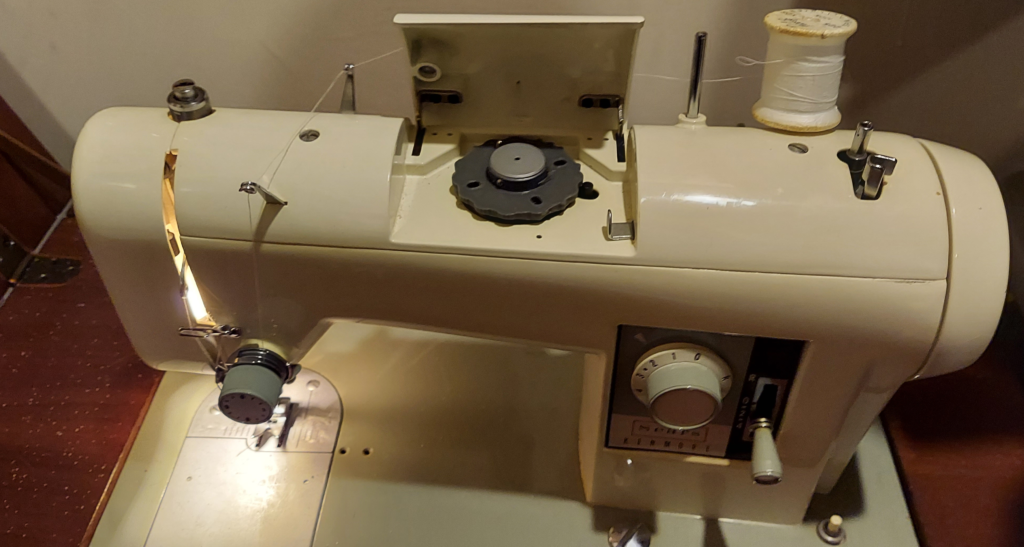
Despite all that, it’s actually programmable. Sort of. Like many higher-end sewing machines of the era, it has a provision for incorporating different stitch patterns. This is accomplished (on this machine) by a plastic disc that sits in a compartment on top of the machine. As fabric is fed through the machine, the disc rotates and a follower arm tracks along the outside of the disc, which has thickness variations corresponding to the intended deviation of the stitch pattern. Higher areas on the disc move the needle to the right; lower ones allow a spring to move it back to the left.
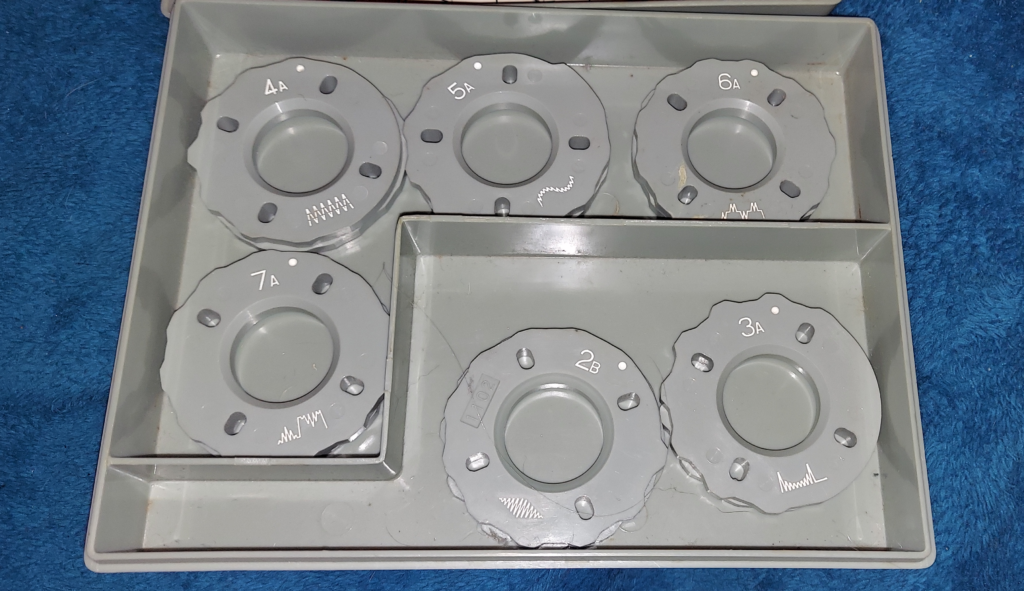
Production of bespoke plastic parts, back then, would have generally been done by hand, unless many copies were needed. A skilled tech would mark a design on a piece of plastic, then cut it out with a jigsaw and file it smooth. For larger runs, such as for the discs that came with the machine, copies would be injection-molded — individual parts cost next to nothing, but the tooling/NRE costs are large.
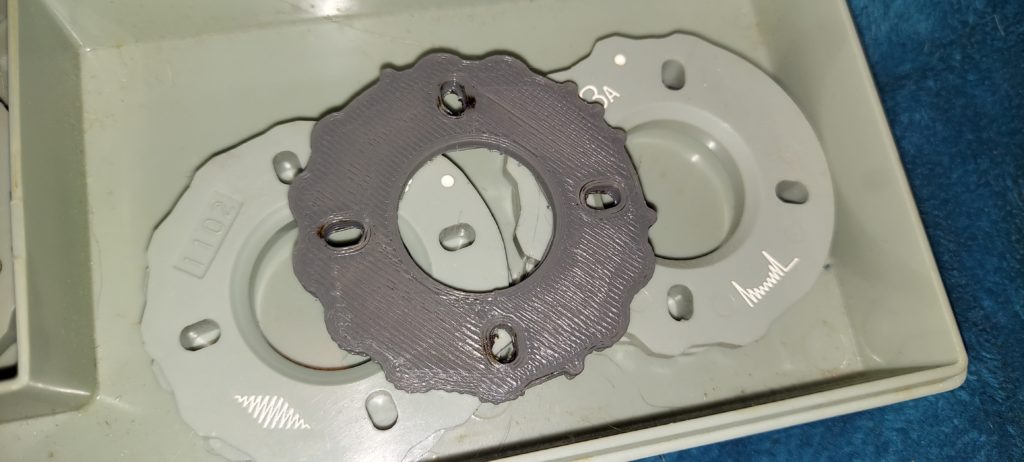
These days, making singleton custom plastic parts is easy. With a few measurements (would you believe these things are actually Metric?!?), it’s easy to generate a .STL file to get a 3D printer to make custom discs.
The relevant measurements are:
- Center hole diameter: 25mm
- Outer diameter: 53-57mm (radius of outer path is 27.5mm +- 1mm
- Thickness: 4mm (single layer) / 8mm (double sided)
- Oblong holes every 90 degrees, from 17-23mm from center, 4mm wide
Here is a template in Sketchup, if you want to create your own.
With this template, all kinds of new patterns are possible — even Morse code…
It spells out “PT0 US” in Morse code. Or that’s the idea.
