Since the first digital cameras came on the market (I got my first one — an ancient 640×480 Vivitar — back in 1997), resolution has continued to improve. Modern cameras with more than ten million pixels (10 megapixels, or MP) are available for a few hundred dollars.
One drawback of digital cameras, though, has generally been a lack of dynamic range. For example, if you take a picture of a lump of coal next to a bare lit lightbulb, chances are that either the coal will be digitized as completely dark, the lightbulb will be digitized as at maximum brightness, or both. There just isn’t much dynamic range (number of distinct levels between the brightest and darkest parts of an image) available. Film has generally had more dynamic range — and the human eye is even better.
HDR imaging is one solution to this. Using the same limited hardware, several bracketing exposures of a scene are taken — some at low brightness, some normal, and some with high brightness. Parts of each image will still be clipped: the lump of coal in the above example will probably be shown as absolutely black at the dim exposure, but will show up nicely on the bright exposure. The reverse would be true for the lightbulb: it would show up nicely on the dim exposure, but would be washed out on the bright setting.
Once a series of bracketing exposures has been made, an HDR algorithm can digitally combine them into a single image with higher dynamic range. Think of it as measuring a diverse group of people with a few rulers on a wall: you can measure kids with a ruler that goes from 0.5m to 1.5m, and the adults with another that goes from 1m to 2m. You would get the same resolution at a wider range, even though some processing is needed to make the final tally.
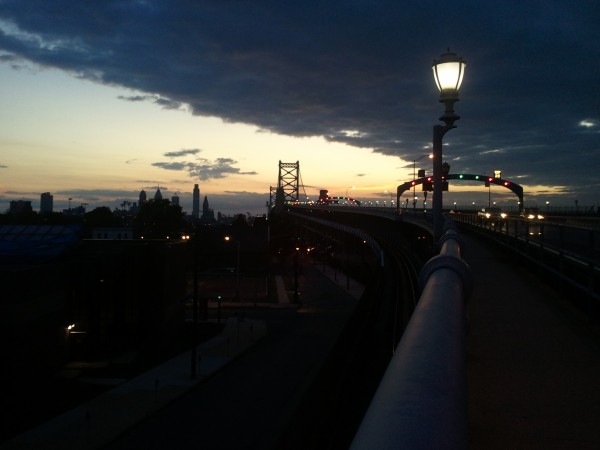
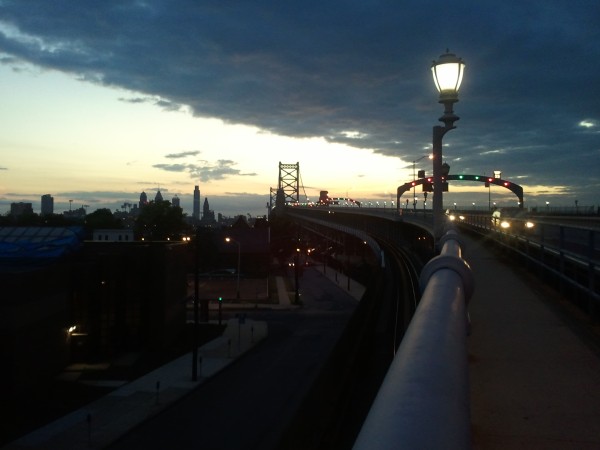
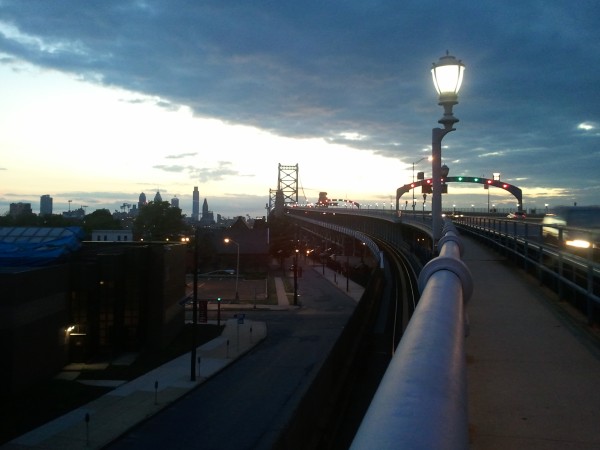
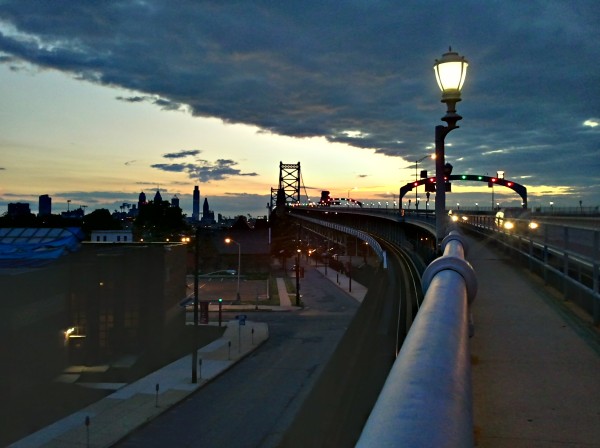
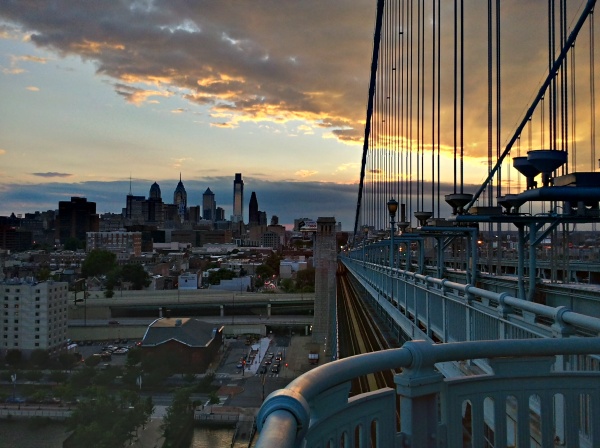
Here is an example of HDR imaging in action, including three automatically-taken standard bracketing images and the final result. (Although the images show the effect of HDR, they are otherwise not the best possible, since they were taken using a cell phone camera with no specialized equipment.)
(The pictures were taken on a recent walk across the Ben Franklin bridge and back.)
Here is another example of HDR imaging, taken on the same walk across the bridge. (I didn’t collect the originals for this one, so it doesn’t really make as good an example, even though the image itself is somewhat nicer.)

